

Need a little greenery in your life? Try a decorative bamboo arangement. I love bamboo! It takes no soil and does well indoors. Forget to water it? No problem, more often than not they bouncy back even when the leaves have begun to yellow or the stalks have started to shrivel- oops! My husband has been throwing these things together for years. It first started as a last minute christmas gift idea- a plant you virtually can't kill. Genius!
I found this was a perfect solution for my sister, who recently moved out of our parents home and into her new apartment. She had been looking for something decorative for her place that took little to no care. Bamboo? You got it!
So here's what you will need...
So here's what you will need...
Supplies:
- small glass bowl or vase
- bamboo stalks (an odd # of stalks works best)
- flat fish marbles or decorative rock or gravel
Luckily I picked up this small round bowl for 50 cents at the thrift store. I had already looked at our local craft store but most of the vases were large and deep. I wanted something a bit smaller and fish bowl-esque for her.

I chose 3 bamboo stalks of varying height to add interest. You can choose more or less, or even use a combination of both spiral stalks and straight. Do keep in mind the spiral stalks typically run a few dollars more. Unfortunately our store was down to just a few stalks and these were the healthiest looking of the few.

Here's what you'll do...
STEP 1: place a small handful of marbles into the bottom of bowl. This not only makes the stalks more secure, but also assures you that bamboo roots as seen in the above picture aren't smashed on the bottom of the vase with nowhere to grow. **A bag of fish marbles was approximately $1/bag at Dollar Tree vs. approximately $5/bag at the craft store.

STEP 3: Lastly, add water. And enjoy!
Examples of past arrangements:
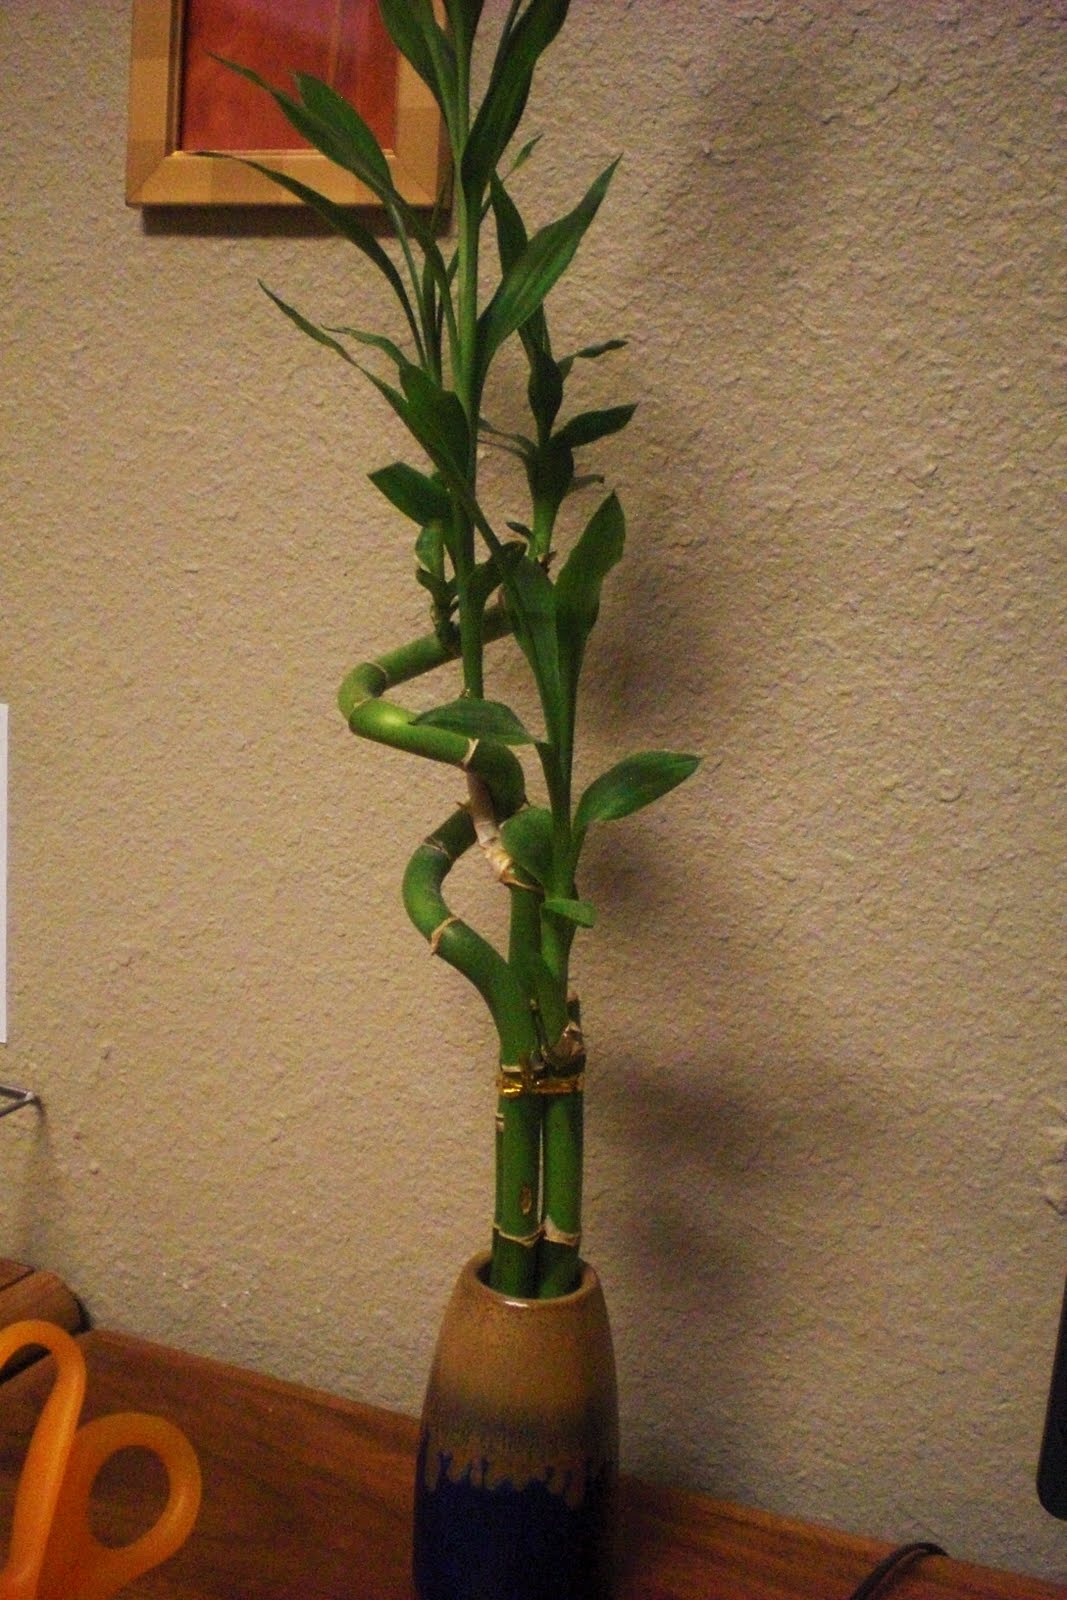 |
| Store bought arrangement from a co-worker when I got my appendix out. It survives nicely in my dim-lit corner of an office. I've had this for over a year. |
 |
| Bamboo arrangement made by hubby for my office. Everyone enjoyed this so much we moved it to the front desk. It has been around for 3 or 4 years. The bright green is new little shoots that have sprouted up. It is in the original bowl. |
 |
| "This little guy? I wouldn't worry about this little guy." ~ Super Troopers My coworker has been slipping this one some miracle grow from time to time. This arrangement began in a small square bowl similar to the one I made above, but has since out grown it's home twice. It is approximately 4-5 years old. And the one shoot is now taller than me! |
Have you put an arrangement together? Let me know how it went. What did you do differently?


